Today: Stitch it, bind it and dye it!
This week in Textile Embellishment class, we got our gloved hands dirty with indigo dye and tightly stitched, knotted and bound natural fabrics.
Shibori is the Japanese word for a variety of ways of embellishing textiles by shaping fabric and securing it in that shape before dyeing. Securing or binding the shape creates resist areas for the dye, creating a pattern on the cloth. The word comes from the verb root shiboru, meaning "to wring, squeeze, press."
Rather than treating cloth as a two-dimensional surface, with Shibori it is given a three-dimensional form by folding, crumpling, stitching, plaiting, or plucking and twisting. Cloth shaped by these methods is secured in a number of ways, such as binding and knotting. It is the pliancy of a textile and its potential for creating a multitude of shape-resisted designs that the Japanese concept of Shibori recognizes and explores.
Well, I loved it! I prepared 11 samples, using different techniques, with a bit of a focus on hand stitching. My Granny taught me to embroider when I was young (boy was I prolific...I stitched like a fiend...) so Shibori, while having been in use for thousands of years, somehow felt familiar to me. Thanks Granny Stella!
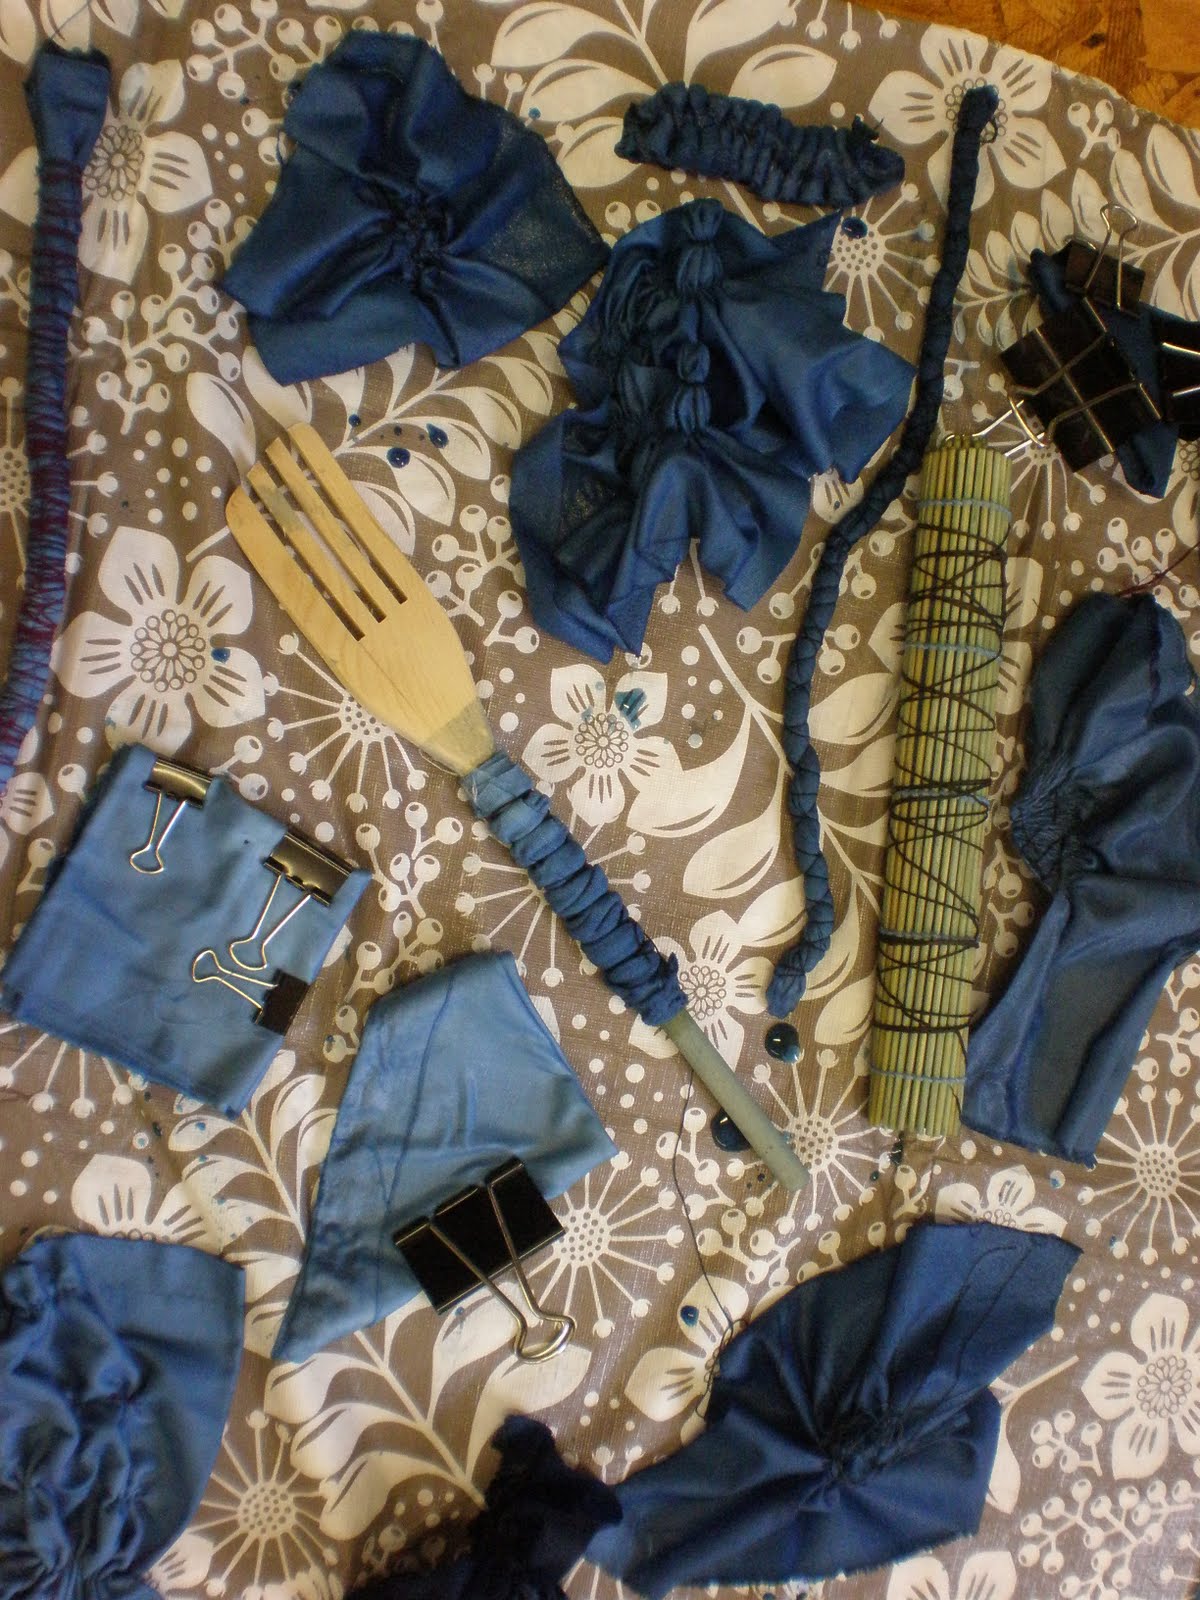
We all stitched and bound etc on our own at home, then we had the Indigo Dyeing lab during class time:


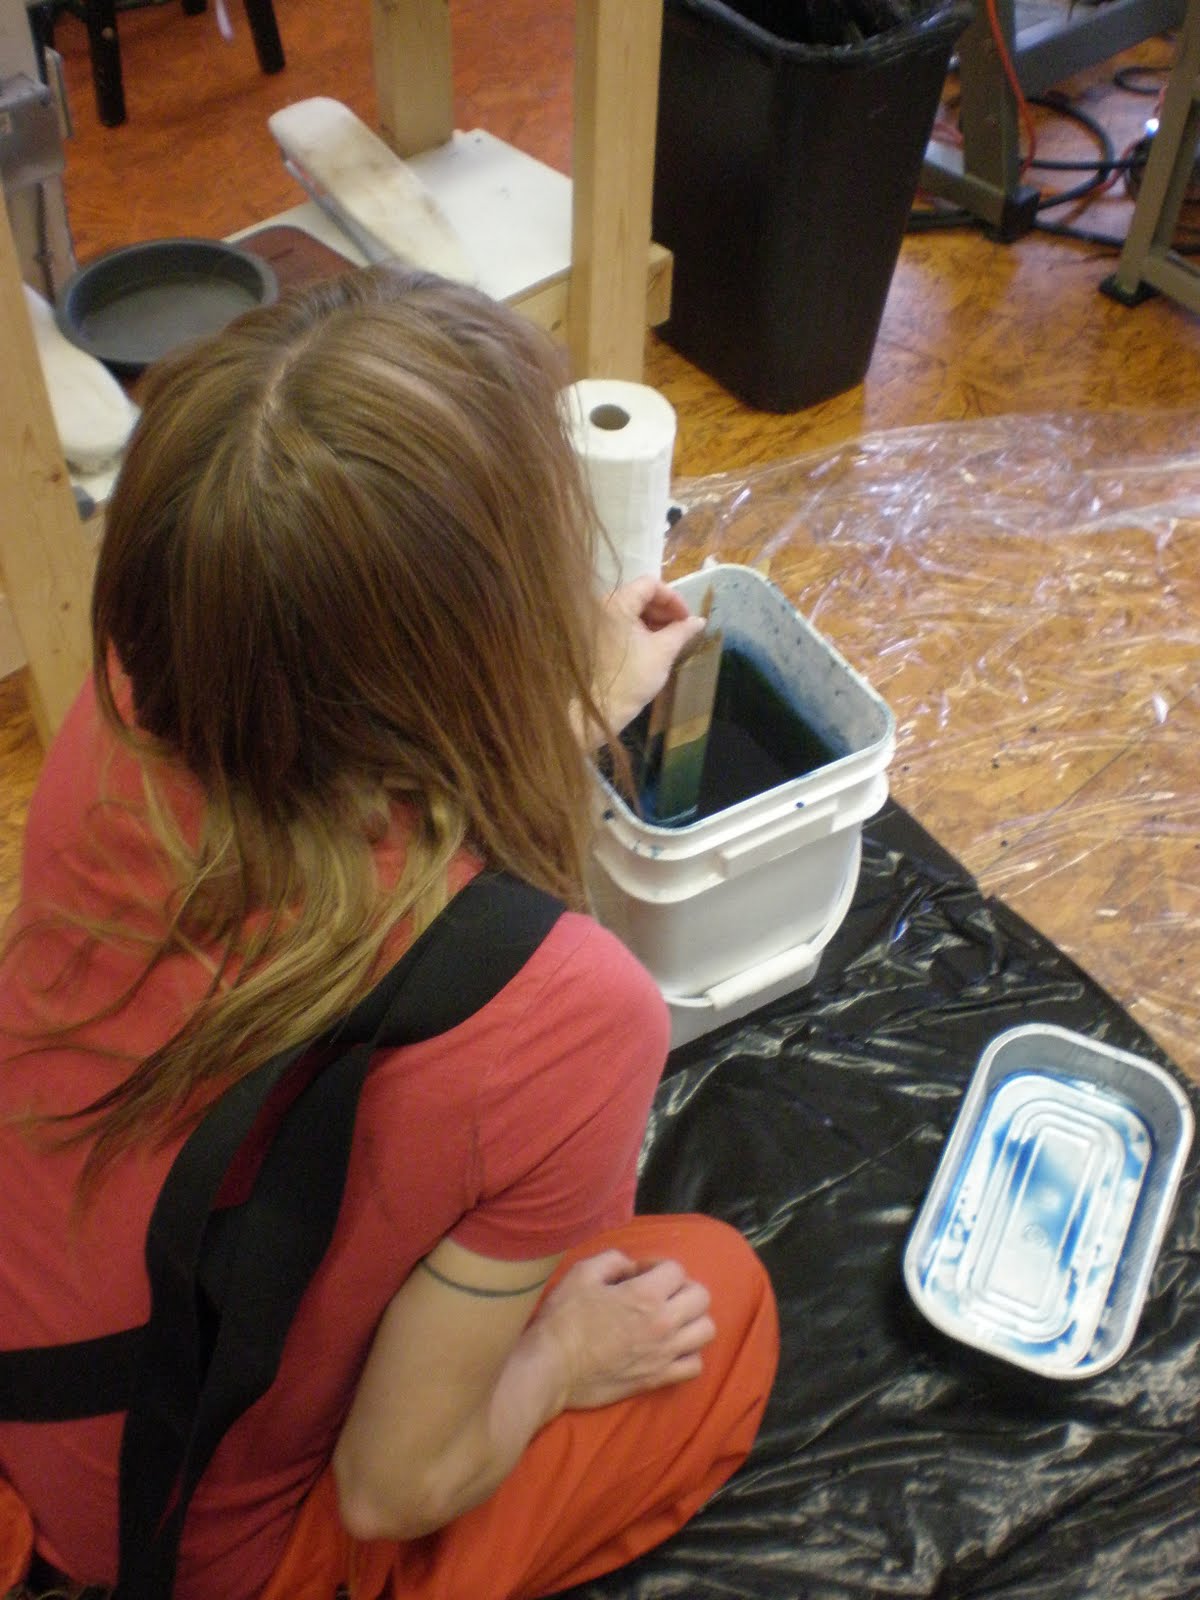


We layed them out, overnight, to dry:


Following is the step-by-step result of my first attempt at Shibori. I will definitely be using this technique again!


Wooden-fork-binding a la Arashi Shibori (Japanese tradition dictates that a four meter pole is to be wrapped, but this'll give me the idea!) . I didn't iron it because I love, love, love the texture it created. I will be informing myself further as to the texturizing effects of Shibori. I would love to create a cumberband with a big ole bow or even a hem band out of textured fabric like this. Very cool!


Here, I folded a piece of fabric lengthwise several times, stitched and then bound it a la Nui Shibori.


This is the one that I rolled and bound a la Sugi Shibori.


Karamatsu Shibori. I folded a piece of fabric in half and stitched semi-circles on the fold.


A stitched flower. The technique is Nui or 'stitched' Shibori. I'm going to do a few of these for my denim project as well. They are going to represent Japanese cherry blossoms.


Another example of the stitched method.


This one paired Nui Shibori and Maki-Age Shibori. The second technique is what created the circles. I bound points of fabric. I love the strong repeat. I dipped this one many, many times and it was by far the darkest piece of fabric at the end of our dyeing session.

The piece of fabric that was wrapped in the bamboo sushi roller. I only did one dip in the dye which I regret now. A quick second dip would have made a positive difference I think. I like it though...very Japanese!


The stitched ginko leaf (Nui Shibori). Kind of looks like a fish.

This one I folded into a triangle and clipped. Sankuku Shibori. Unfortunately the clips left rust on the fabric.


My scarf!

This is a Koi fish, another Japanese symbol, that was created with a Sabra resist that is applied from a small squeeze bottle in the design/picture/pattern desired. I might be using a Sabra resist on one of my runway dresses. I actually changed the bodice on the mock-up so I could do it! (A seam issue).
So there you have it! As it turns out, I love Japanese Shibori!
You should try it!
Ciao Bellas!
Karen


No comments:
Post a Comment